When we moved into our house and I was looking at our yard, I was most excited about the fact that we had apple trees. I had already made apple sauce from my mother-in-law’s trees for Cece when she was a baby, and so I was thrilled to have my own. I was also excited about the possibility of expanding our garden from what the previous owners had initially set up and enjoyed looking at all the different plants and trees. Not once did I get excited about this giant bush/tree that was growing near our apple trees. It had little tiny black berries, which I naively believed must be inedible. I was quickly informed that they were chokecherries. This did not increase my excitement. First tasting one of them also made me less than thrilled. If anyone has ever eaten a chokecherry right off the stem, you know how bitter it is. Not to mention that the seed is pretty sizeable compared to the size of the cherry. All in all, I thought, it was a complete waste of a plant. However, I also did not like the prospect of trying to take down this giant bush/tree and Brent liked it and said we would end up using the berries. In my head, I laughed, as I saw no way that the berries would ever be enjoyable. Cut to this year, where we harvested over 7 gallons of berries and suddenly found ourselves with a ton of juice that needed to be dealt with. So, without further ado, here are my 3 suggestions for dealing with a bunch of chokecherries other than leaving them as bird food and a lovely wasp attractor (I do not recommend this).
- Chokecherry Jam
This is by far the favourite for Brent and the kids. The girls would gladly eat the jam just with a spoon out of the jar. I feel like this is the most palatable way of eating the chokecherries however, it is also the most time consuming of the three options we tested out this year. For starters, you need to make your chokecherries into juice. This is necessary for all three of the options. I am sure there are many different methods to do this, but here was our approach.

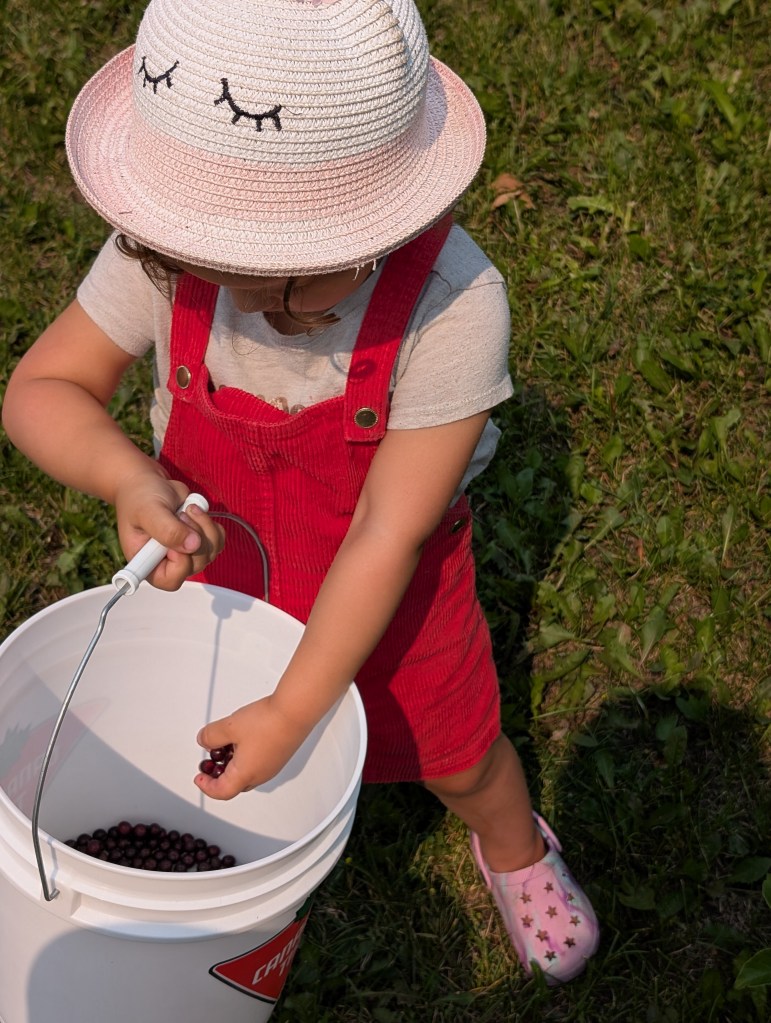
First, we washed all the berries. This was extremely time consuming because we had to pick out the leaves that had been thrown in by letting the girls help us with the harvest. Once the berries were all washed and leaf free, we put them in batches into our biggest pots that we had with enough water to just cover the berries. We let the berries come to a boil and then let them boil for 15 minutes. I would highly suggest anyone planning on trying any of these methods to keep a close eye on your pots to avoid boiling over. After the berries were done boiling, the real fun started.
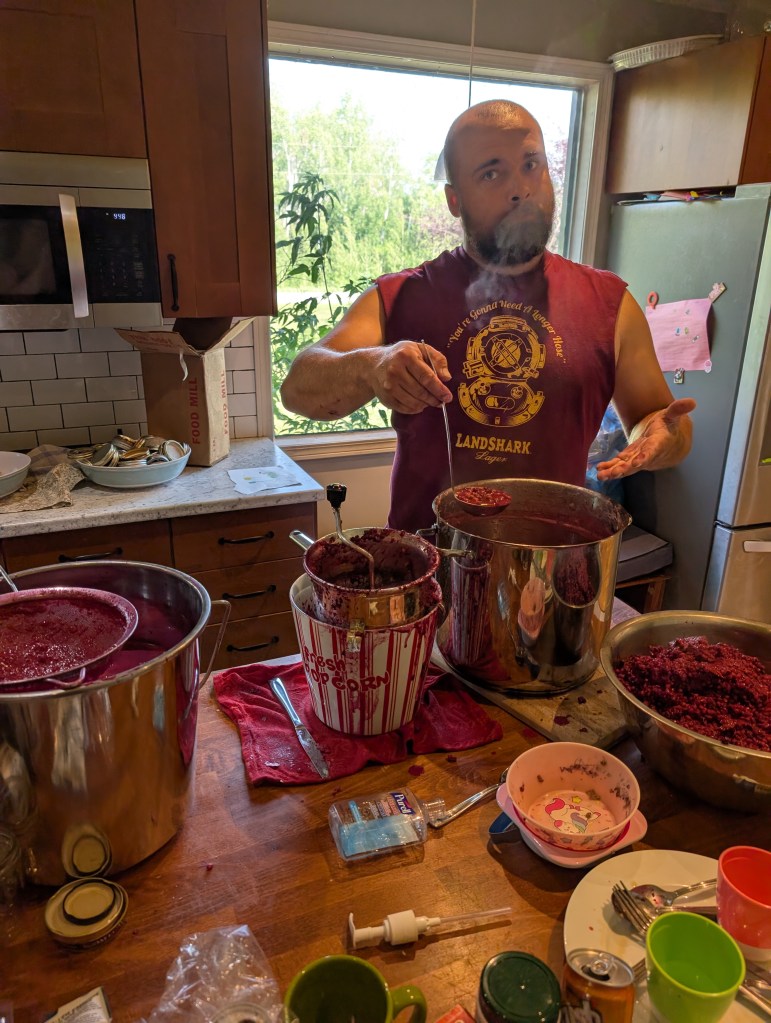
You cannot eat the pits of the cherries as they are poisonous when crushed and consumed. So you have to smoosh the berries to extract the juice while keeping the pits and pulp separate. Some methods I saw online suggested using a sieve and the back of a spoon and then running the whole thing through cheesecloth. Luckily, we had inherited a fancy gadget from Brent’s aunt called a food mill. I have no clue how old this thing is, but it was ordered from the Eaton’s catalogue so that should give a hint. With the food mill, you put it over your bowl or pot then place your cooked berries and juice mixture in the top and then you turn the crank repeatedly to extract all the juice. What is left in the mill are the seeds and pulp with we had to continually dump into a bowl to be thrown out in the back field. It took many, many, many batches to get all 7 gallons of chokecherries through the mill, but finally it was done. I have to give a big shoutout to Brent at this point because he did most of it as I had carpal tunnel surgery in January and my hand and wrist are still not back up to 100%.
Once we had the juice extracted it was time to make jam. We found all our jars, seals and rings and sterilized all of them. We then went and bought 10kg of sugar and 5 boxes of Certo (pectin), figuring that should be good enough. Spoiler, it wasn’t. The recipe we followed had the following measurements:
3.5 cups of chokecherry juice
1 tsp butter or margarine
1 box of Certo
4.5 cups of sugar
0.5 cups of lemon juice (OPTIONAL)
First you take a pot and combine your juice(s), margarine and Certo and bring it to a boil. Once it is boiling you add your sugar and continue to boil for 2 minutes. Once done you pour it into your jars, place the seals and rings on. After that, you place the sealed jars into a boiling water bath for 15 minutes and voila you have jam (once it cools and congeals).
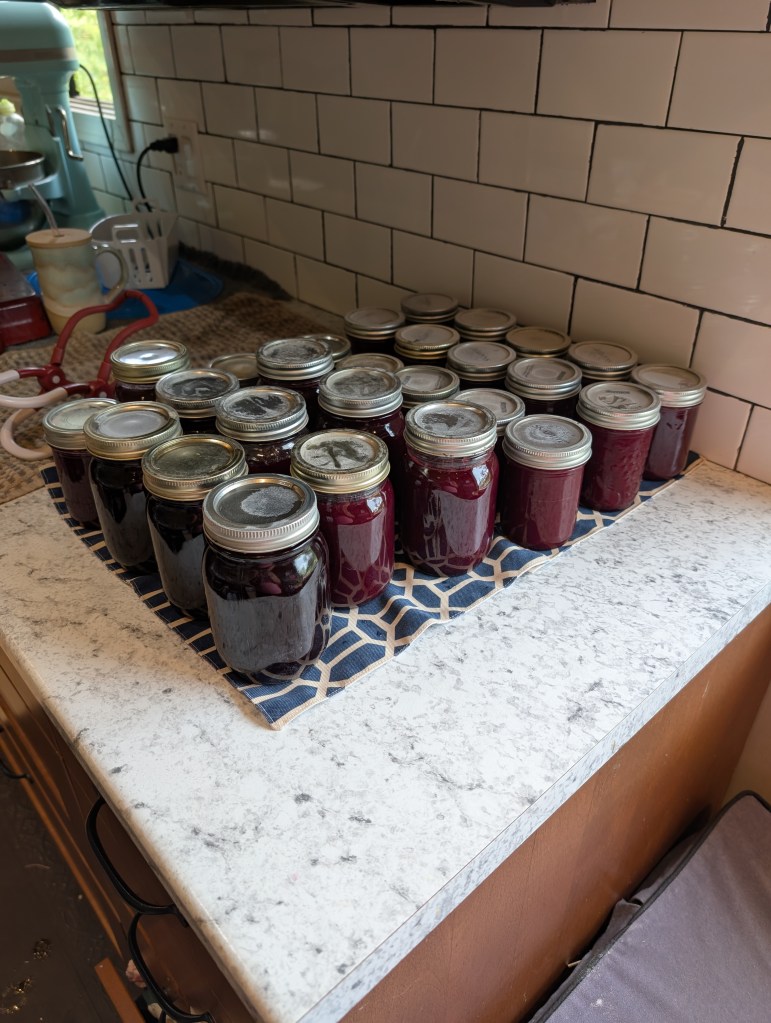
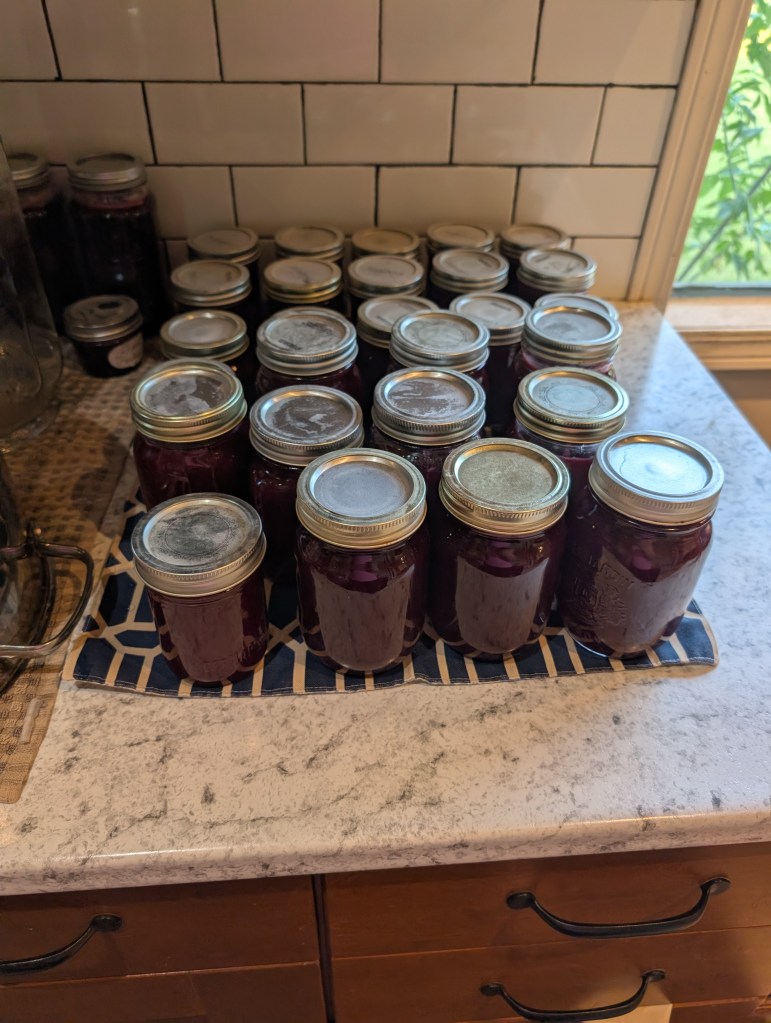
This recipe was very simple to follow, however it warned, as did Brent’s mom, that you cannot double the recipe you need to do separate batches. Apparently, it is something to do with how the pectin works. At any rate, 3.5 cups of juice were barely making a dent in our buckets that we had harvested, and it became very quickly apparent that our 5 boxes of Certo and 10 kg of sugar simply wasn’t going to cut it. We had to make a few more trips to the store during the few days we spent processing all the chokecherries. In the end, we ended up with 53 jars of jam, varying in size from pints to full quarts.
- Chokecherry syrup


After 53 jars of jam, we still had juice left and wanted to try something different. Brent had the idea to make syrup as the recipe seemed simpler. It said to boil 3 cups juice with 4 cups sugar for 15 minutes, then put in jars. No water bath, no pectin. It sounded so simple and easy. It probably would have been very simple if one of the pots hadn’t boiled over with sticky syrup all over the stove top and then leaked into the oven door. We can still see the marks on the door. The house also smelled of burnt sugar and we lost a few good towels to the incident because chokecherries really stain. All in all, this one gets second billing because I believe it to be an acquired taste, and Brent is determined to acquire it to make sure the terrible boiling syrup incident was not in vain. We only made 4 jars because we weren’t sure whether the girls would eat it, but Brent refuses to let things go to waste and has vowed he will learn to love it and eat all 4 jars.
- Chokecherry liqueur
This one was really out of jam fatigue. We didn’t want to waste any of our harvest, but we also really didn’t want to end up with 100 jars of jam. So, I found a recipe that would use up more of the juice without requiring mountains of sugar and time spent boiling and water bathing cans. Here is the recipe:
2 cups chokecherry juice
0.5 cups sugar
0.5 cups clear alcohol (we chose vodka)
You heat the juice and the sugar, just long enough that the sugar dissolves, then take it off the heat. Allow to cool slightly, then add the alcohol. Pour into a sealed container or bottle and let it rest for a month.
Now truth be told, we have not yet tasted this one as it needs to sit for a month. It did however, allow us to finish the chokecherry juice and wasn’t super expensive as I was able to buy 1.14 L of vodka for around $30. I will update on my Instagram page when the official tasting occurs to see whether or not it is really worth doing. But I was happy, just to have the juice out of my fridge.
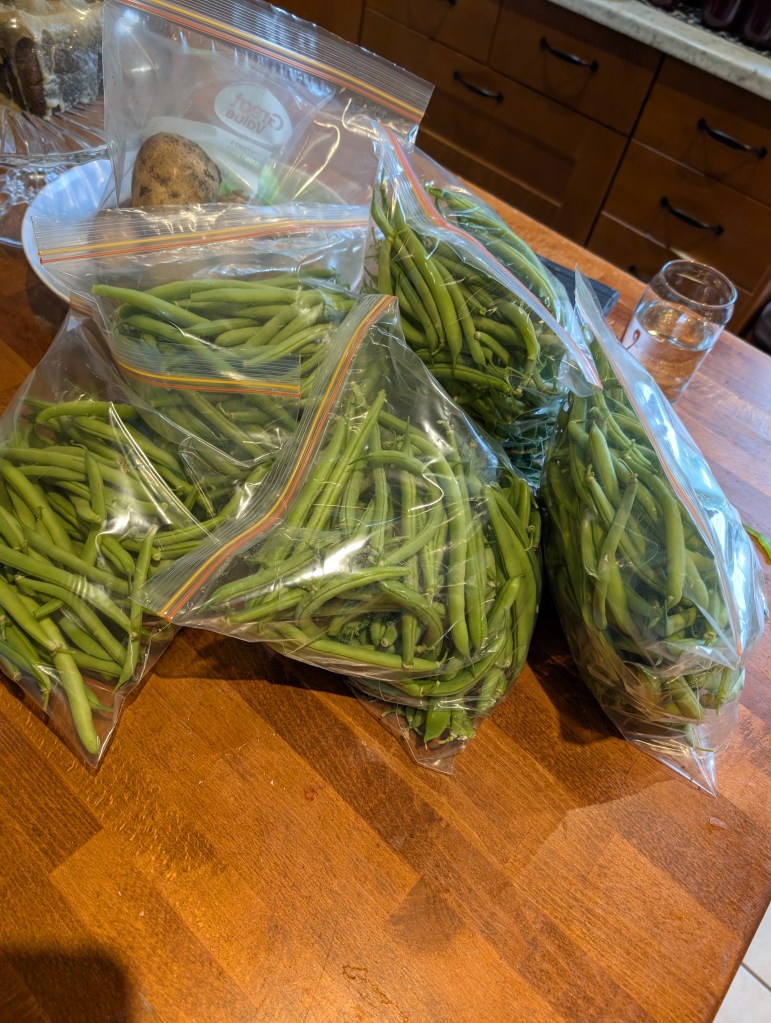
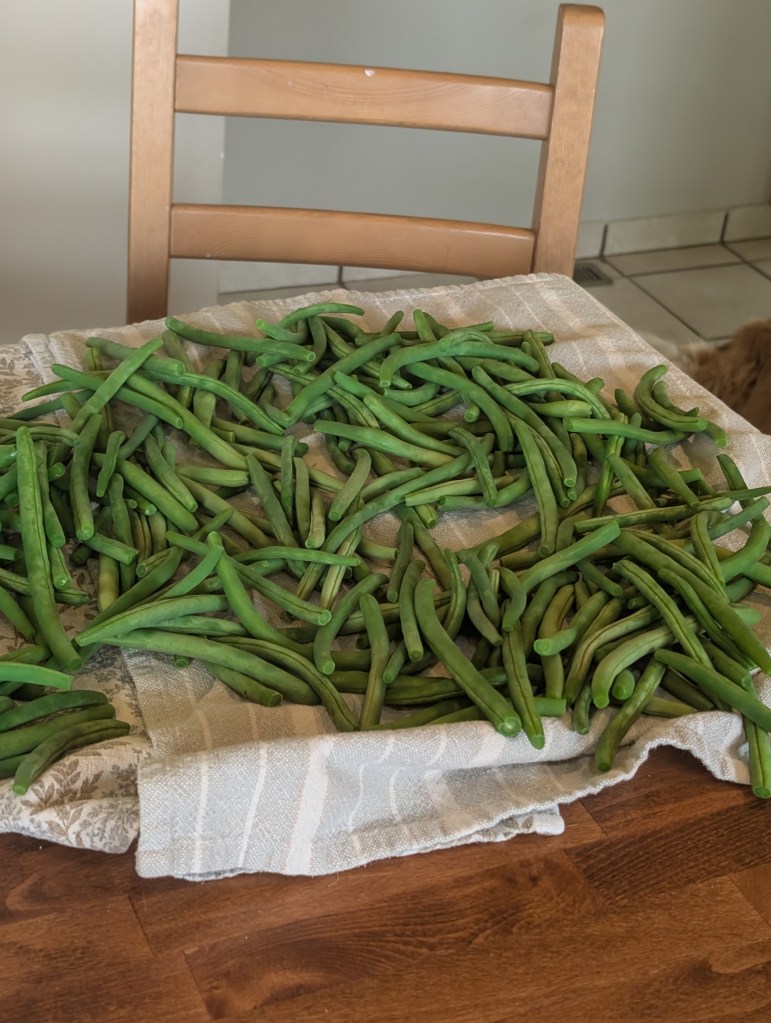

This is only the beginning of the harvest season. We have started making pickles as our cucumbers have taken off now, we have harvest about 30 lbs of green beans and the plants are still producing more, we boiled several cabbages to be used for cabbage rolls and even more that was turned into sauerkraut. The next thing to be harvested will be our apples, followed by tomatoes (if they ever start ripening), then potatoes, peas, beets and the last will be our pumpkins at the end of October hopefully (weather permitting). Needless to say, I will not have my kitchen for the next two to three months as it will be continually covered in jars, or fruit or vegetables.

Leave a comment